3.28.2013

Fish Tacos

 This is a very simple, healthy, delicious recipe that we used to eat all the time.  It had been months since we made fish tacos, but i'm sure there will be plenty more in our future after eating these again last night.  For the full recipe visit my previous post: http://tomsbackyardbbq.blogspot.com/2012/10/toms-fish-tacos.html
 
 
Ingredients:
  • Tilapia
  • Corn tortillas
  • Cole slaw
  • Jalapenos
  • Fresh cilantro
  • Sauce: sour cream, mayonnaise, sweet chili sauce, lime juice, chili powder, garlic
 
To make the tacos: heat a corn tortilla shell in a skillet until it becomes warm and a little crispy.  Add fresh made cole slaw, top with chopped tilapia and diced jalapenos, spoon some sauce over the top and garnish with fresh cut cilatro.

3.20.2013

Rack of Lamb

I was shopping in Kroger the other day, and this rack was just too good to pass up given it's price and size.  It turned out to be an excellent dinner, plain and simple.
 
Asparagus - seasoned with salt, pepper, garlic powder, and sugar
 
Rack of lamb - seasoned with salt, pepper, garlic powder, and sugar 
 
 BGE set to 350 degrees
 
Pulled after one hour after internal temp reached 160 degrees - this was more medium to medium well, 145 degrees is medium rare.
 
Rack allowed to rest for 10 minutes while I cook the asparagus
 
Asparagus cooked over medium to high heat for about 5 minutes.   
 
Final product - sauteed asparagus, lamb lollipops, and mint jelly!

3.16.2013

Ashton Drive's First Annual Pig Picken

This past weekend we had a very successful block party and 1st Annual Pig Picken.  We had about 20-25 people come out Friday night to eat Chicken and Ribs and watch the pig go on.  We had 40-50 on Saturday come out to play yard games, drink good beer, enjoy beautiful weather, and eat great pork!  Special thanks to Cory Thomas for all his help from start to finish.  Here are a couple of pictures from the weekend:
 
 
7am - pig has been smoking low and slow now for 7 hours
 
 
Just backed the pit into the driveway.  Man does that thing look good behind my truck! 
 
Our rental pit for the weekend - "Daddy's Little Brother"  Thanks to Randy at Mobile BBQ Pit Rentals: www.rentbbq.com  This thing smoked like a champ all weekend!
 
Cory, Tom, and Brad - cooks for the weekend, Pitmasters Cory & Tom
 
Friday afternoon - fired up the smoker around 5pm
 
 
Cory tending to the pit just after throwing some chicken quarters and ribs on 
 
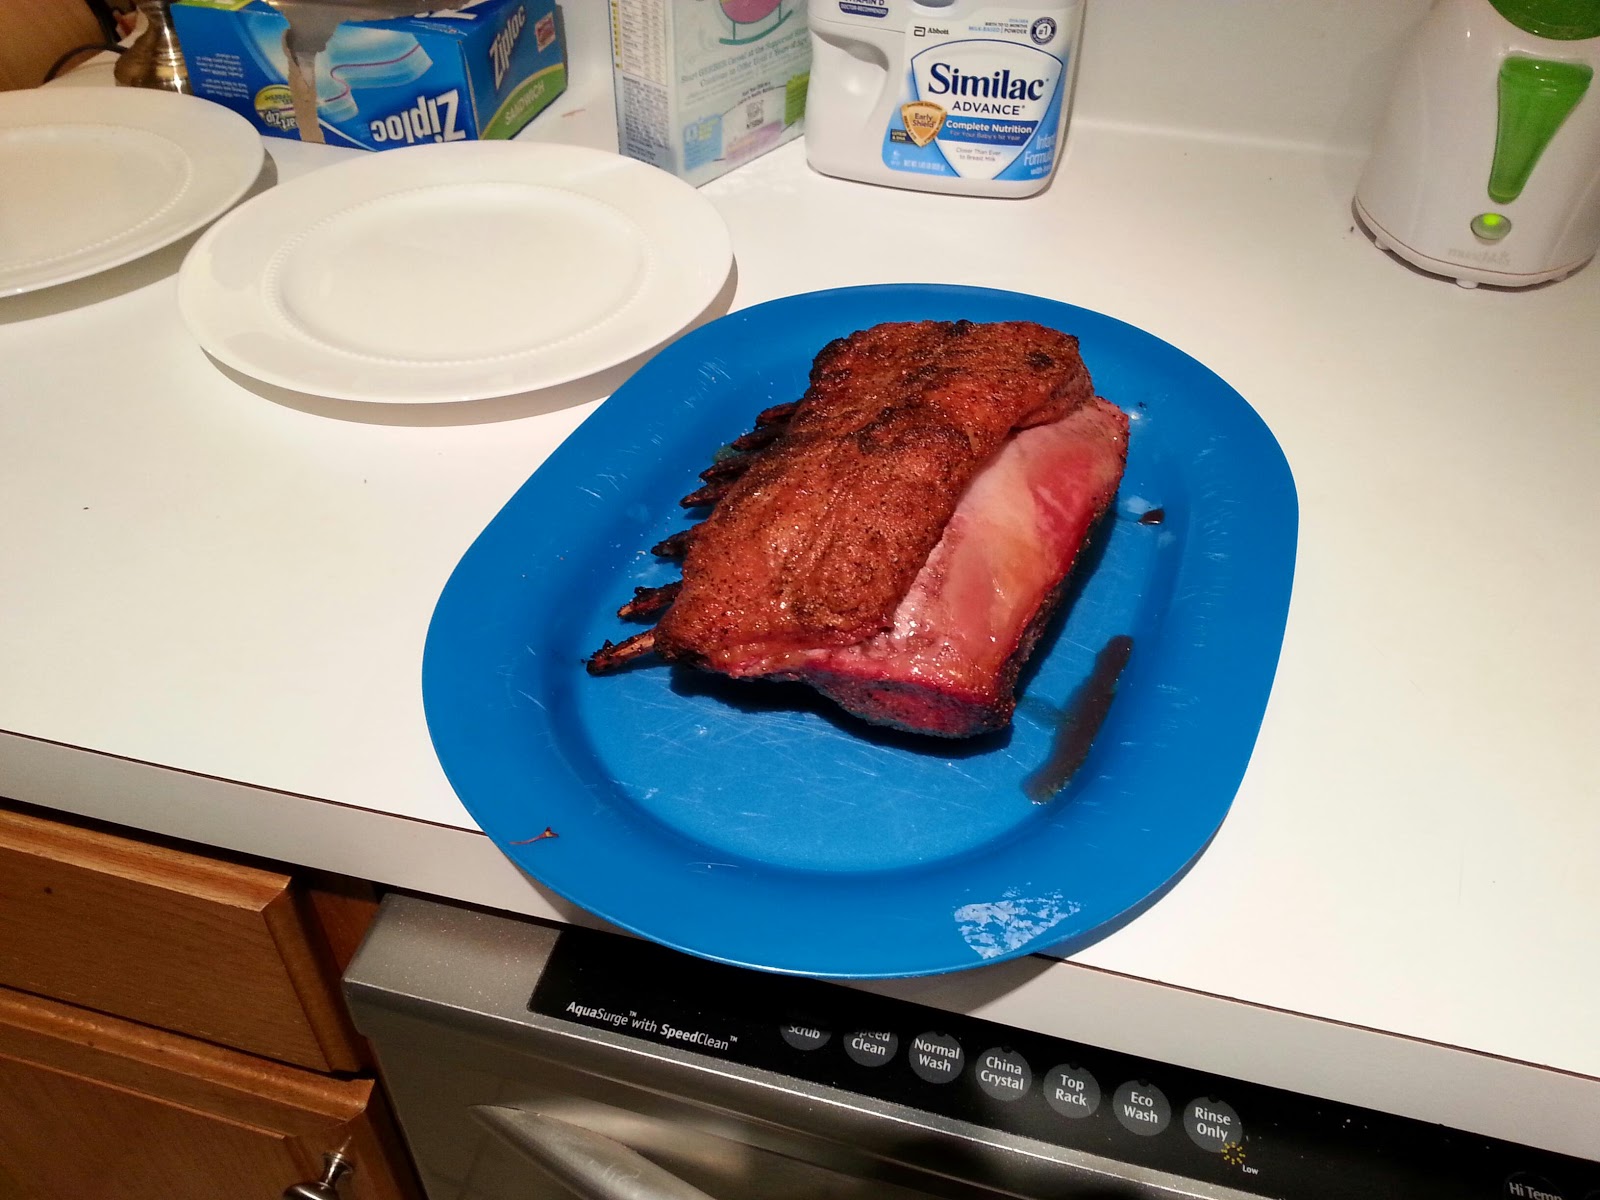
Dinner on Friday night - chicken quarters.  The ribs weren't done for six hours and made an excellent midnight snack just before putting the pig on.
 
 
The underside of our 85 lb hog purchased at Ferguson's Meat Market.
 
 
Quenching thirst and adding flavor at the same time
 
All rubbed down with Dizzy Pig's Red Eye Express 
 
 
Midnight just before going on the smoker 


The pig is on!  Just after midnight, pit temp set at 225 degrees.  We used Royal Oak natural hardwood lump to get the pit going and then sticks of hickory every 1-2 hours. 
 
This was taken around 9am after we flipped the hog.  We rotated the head & front shoulders closer to the firebox and covered the head so it wouldn't burn up.  At this point we're 9 hours in. 

This was taken around noon - 12 hours in.  We're spraying every hour or so with apple cider vinegar and apple juice to keep the meat moist.

About 3pm - ribs and 1 shoulder are about up to temp.  Time for the first batch of BBQ.

Good Friends and me with my Grill Master apron.

We had quite a spread including dips, chips, baked beans, pasta salads, mac n cheese, sausage balls, pies, cakes, potato salads, rolls, and plenty of good bbq.

 
My favorite picture fromt he weekend - pullin pork!
 

3.11.2013

Test Run - Pork Tenderloin w/ Grilled Pineapple & Coconut Rice

This was a Sunday afternoon test run with food on the new smoker.  I had already smoke tested it a couple weeks back and determined it could hold temp pretty well.  This time I filled up the charcoal basket, started it up around 3pm, and figured it could hold temp for around 12 hours. 
 
Meat is on!  That's a rack of spare ribs trimmed in the center, two pork tenderloins, and the riblets from the trimmed rack. 
 
The tenderloined was finished a little over an hour afte rgoing on the grill.  Notice the pink smoke ring after resting for about 30-45 minutes.
 
My parents, wife, and I ate the tenderloin for dinner while the ribs were still cooking.  The bonus of this test run is that I will have spare ribs for dinner on Monday night.
 
Plated pork tenderloin with homemade bbq sauce, coconut rice, grilled pineapple, and sweet & spice asian sauce.  The smoke flavor on this pork was more substantle and noticeably different than when cooked on the green egg.  I'm thinking this new smoker will be perfect for cooking Boston Butts, but this wasn't a bad meal at all.

Before & After


3.08.2013

Smoker Build - Final Product

I was able to finish my smoker over the weekend and test it out on Sunday.  It worked really well, but I have a feeling I will need to insert a door at some point if I want to have the ability to add more charcoal.  Here are the basics:
 
Charcoal basket with a grill grate that sits about 2 inches above it.
 
This is a 16.5 inch ceramic plate that I put on the bottom most grate.  The purpose is to act as a heat deflector allowing for indirect smoking.
 
The ceramic plate wrapped in foil.  The foil actually turned out to be very beneficial during my first smoke on Sunday.  The ceramic plate got so hot that it actually cracked into many piece.  The foil is the only thing that held it together.  I'll have to go back to the drawing board on the heat deflector, but i'm thinking a pizza stone may end up working better.  During my first smoke I also added a tin baking bowl with a 2.5 inch lip.  This was placed in the ceramic plate and filled with water.
 
This is the 2nd grate in the smoker which is the bottom cooking grate.  It sits 5 inches above the bottom most grate, and there is about an inch between the grate and the top of the water pan.
 
 
This is the top grate which sits 11 inches above the bottom cooking grate.
 
Smoker with the lid off.
 
Smoker with the lid on.  Notice I also added a little handle with a cork on the end making it easier to turn the top vent on the weber lid.

Smoker Build - Progress update

I am about 90% finished with the smoker and intend to be 100% by this weekend.  Here is a progress update:
 
New legs - bought some aluminum conduit from Home Depot and cut it short to drop the overall height of the smoker down.
 
 
Inside view of the smoker.  The remaining 10% is really just drilling a few more holes for additional grill racks. 
 
Fresh coat of black heat resistant paint. 
 
View of smoker profile while kneeling on the ground.
 
 
Profile view while standing up.  As you can see, I can now see the temp on the lid of the smoker as well as having easy access to the meat. Pictures of hte completed project to come soon.